

Thursday 9th Jan.
Spent this evenings portfolio session finding old courses I have done in the past and highlighting some gaps. Revisited Course from LeManoosh and looked at his final case study of a phone case game controller. This is a simpler exercise than my PS5 controller which replaces it in my workflow and portfolio. With all the techniques learned scattered across various courses and YouTube videos this process of compiling the portfolio all together highlights an opportunity to pull all the most useful techniques together into our own course in the longer term and pulling together a highlights reel in the short term.
This evening I worked on attaching detailed elements onto curved surfaces. Really useful technique particularly in a kit bashing approaching something I think is automated by Decal Machine but is easy enough to do in vanilla blender if you can remember the steps.
The second thing I worked on, with less satisfactory results was the creation of a rounded rectangular inset into a sub-D surface. This is a perennial issue and an early snag most users encounter. The LeManoosh example avoids the issue by using a boolean subtract but with a large feature such as this I’m wary of generating a poor topology. Again Boxcutter and HardOps add-ons will achieve this in seconds but that’s a really distinct workflow with a requirement to keep the add-on in sync with the blender release.
Detail to Surface Workflow
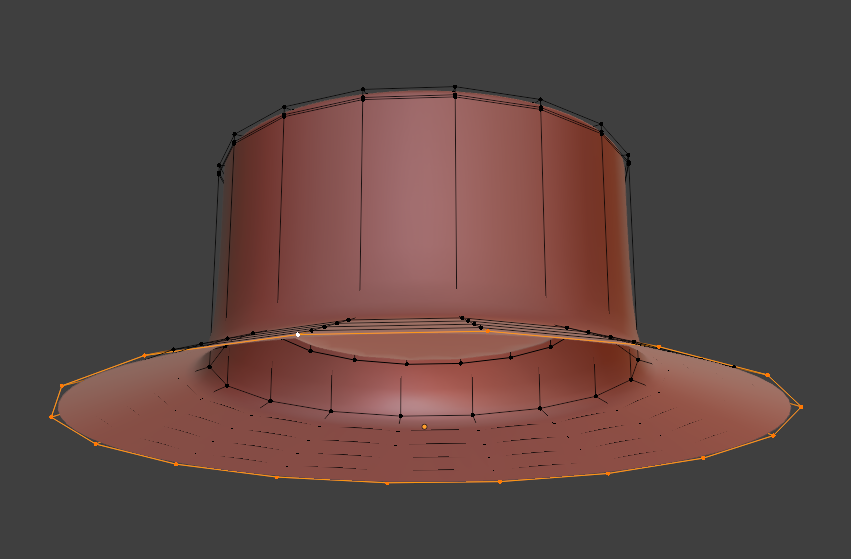
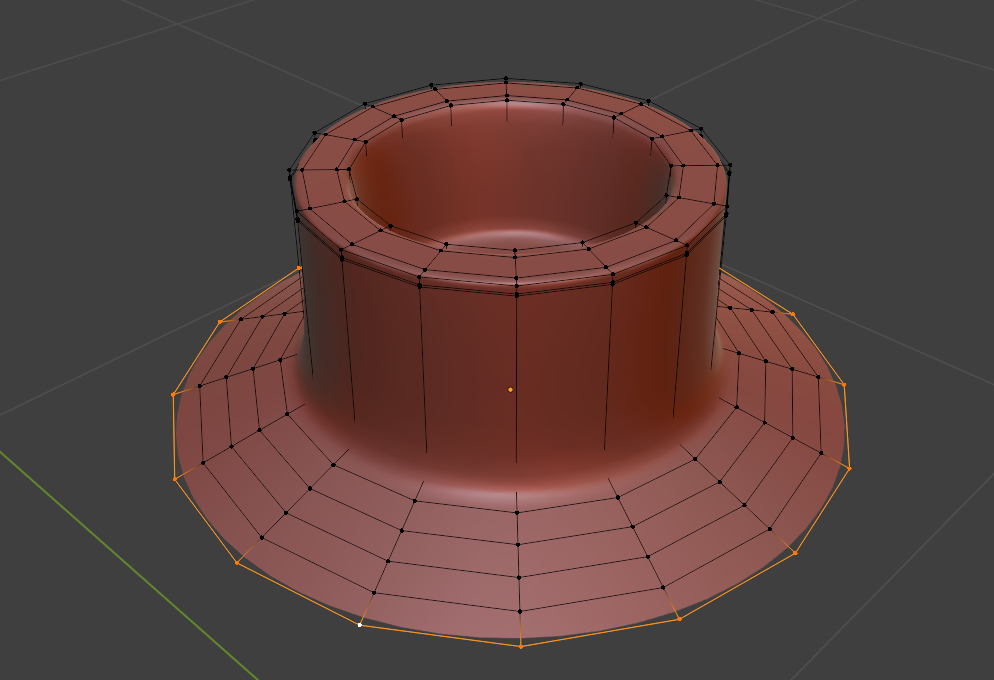
- Model the curved main component and the detail components with whatever subdivision modifier required. On the detail part extrude a skirt around the bottom open face and Ctrl-R insert loops to divide it up (I insert 4 loops)
- Move the origin of the detail part to the bottom open face of the part. In edit mode select the bottom open loop of the detail part and snap the 3D cursor to selection. Exit edit mode and move origin to 3C cursor. This move the origin bit is a fundamental workflow in blender and is a bit of an awkward set of steps when you’re rusty like me. It’s an exercise I’d have students do a number of times to really get the hang of it. Similarly switching between global and local axis and moving pivot points. But I digress.
- The next step is to create a vertex group and apply weights to the group. Easy but can look a bit scary. Create a new vertex group with all the loops of the skirt in. Then on the outer ring assign a weight of 1 , then .08 a the next one (press assign) and so on. These weights will get used later to apply the shrink wrap and data transform modifier.
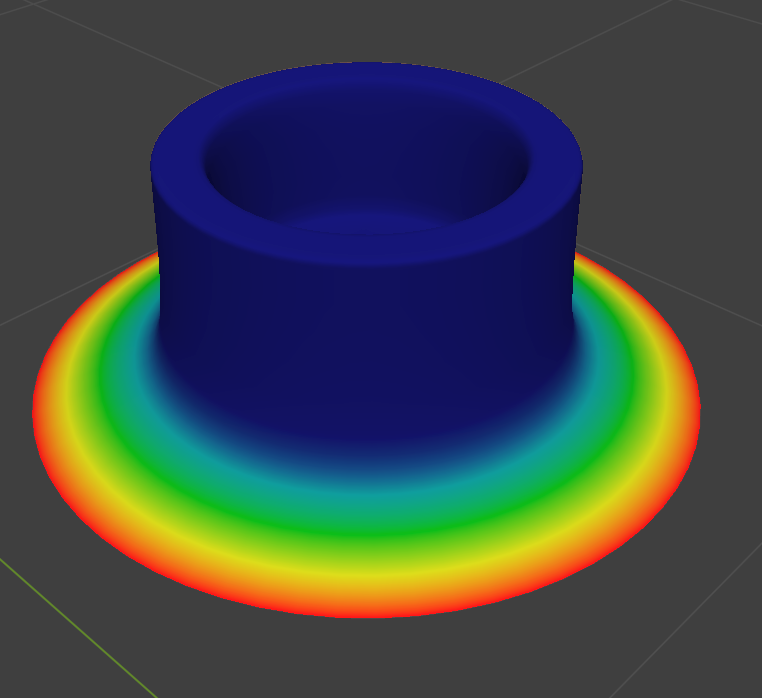
- Checking the weight painting shows it evenly distributed. I think there’s an easier way to distribute the weights using the weight painting mode.
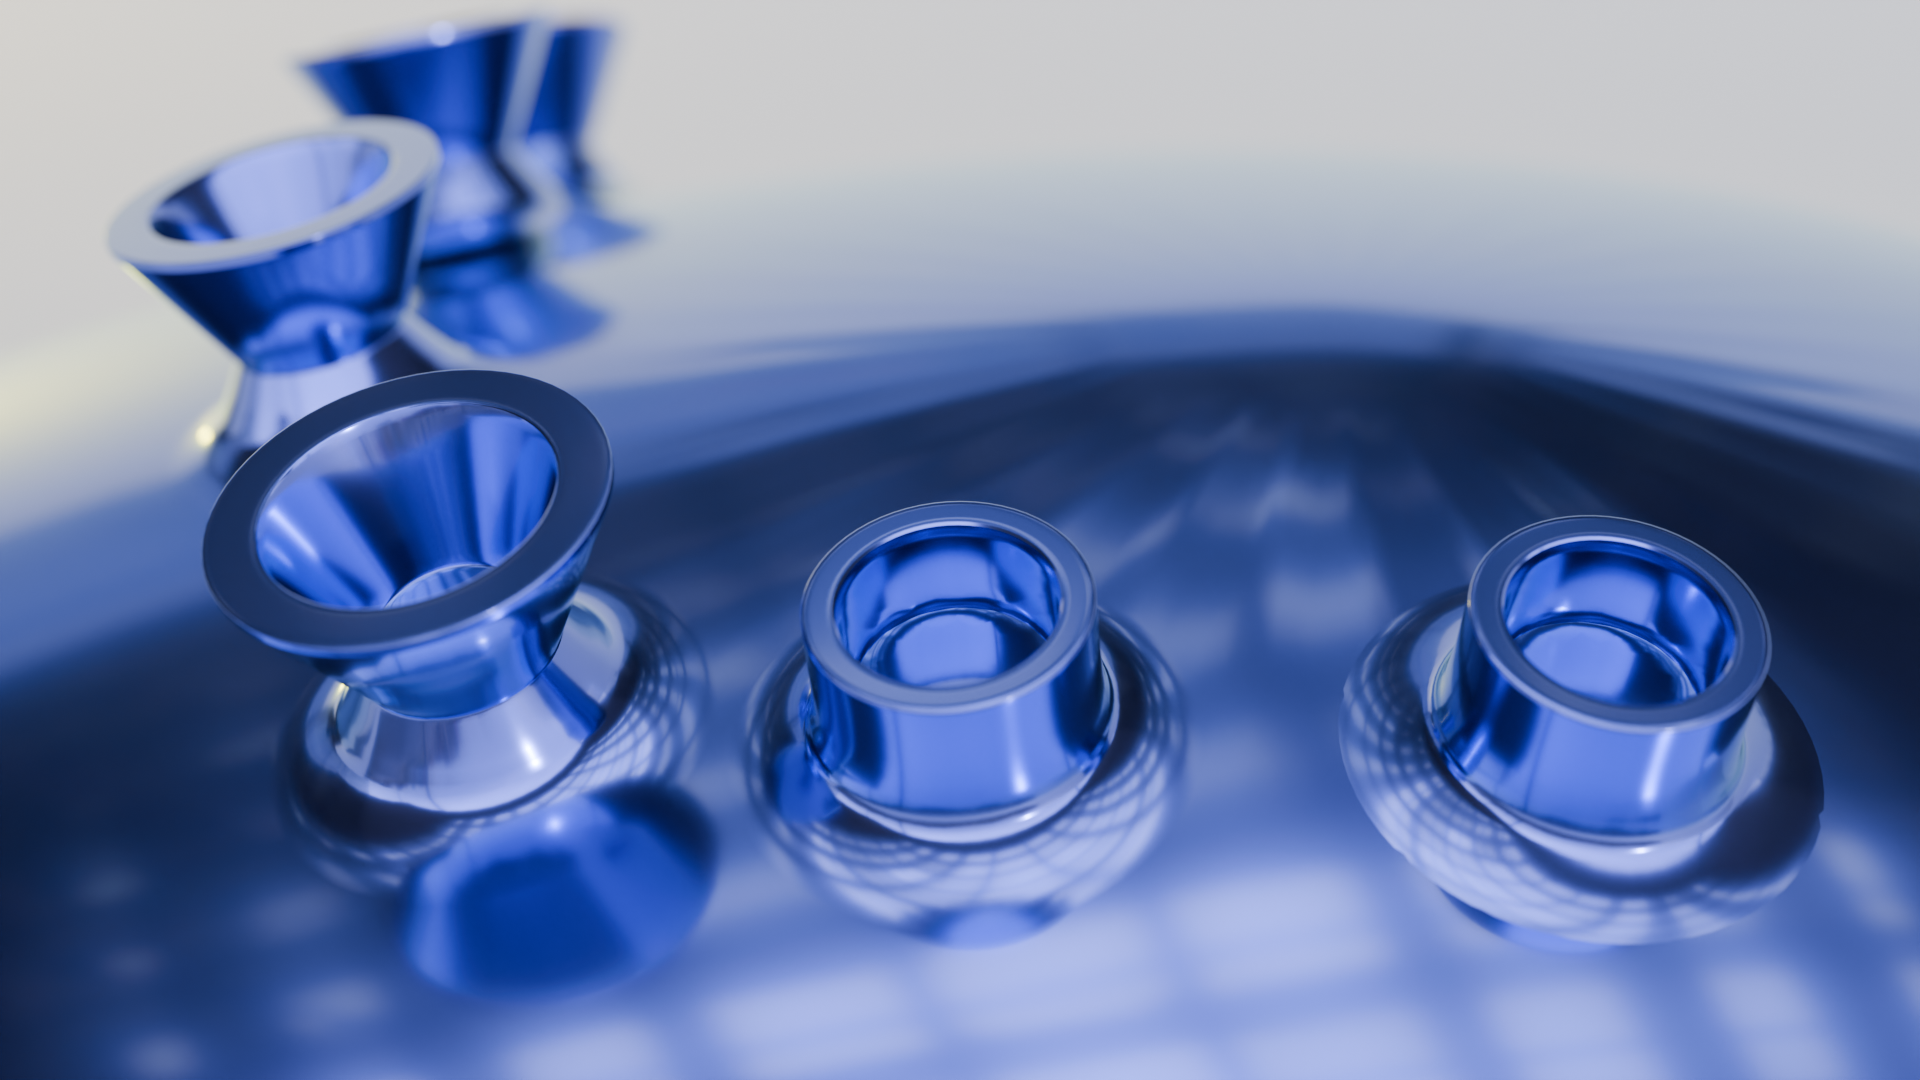
- The next step is to snap the detail part to the main body and apply the shrink wrap moodier to the detail object using the vertex group and weights assigned in the last step. Orientation for the snapping is set as the z axis of the main body. A slicker approach to this step is to apply the skrinkwrap constraint to the detail object with the main body as the target. This might be a better approach.
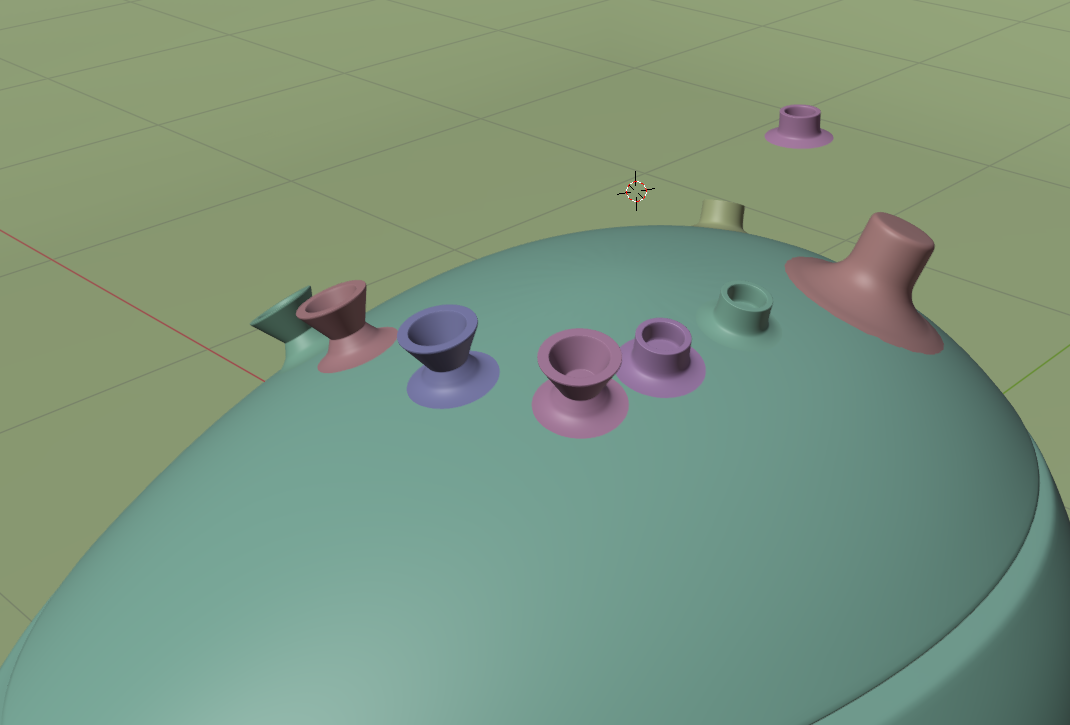
- This allows us to seamlessly attach detail objects to curved surfaces and slide them around easily until we are happy with the position. The last step to get it to render nicely is to apply a data transform modifier to the detail object using the vertex group again for weights. The final example shows the object on the right without a data transform and surface discontinuity where as the object in the center and left have the data transform applied. Good videos on this technique on Blender Secrets YouTube channel. https://www.youtube.com/watch?v=l1AZybSzl8w and https://www.youtube.com/watch?v=x9Xj98PW6uk
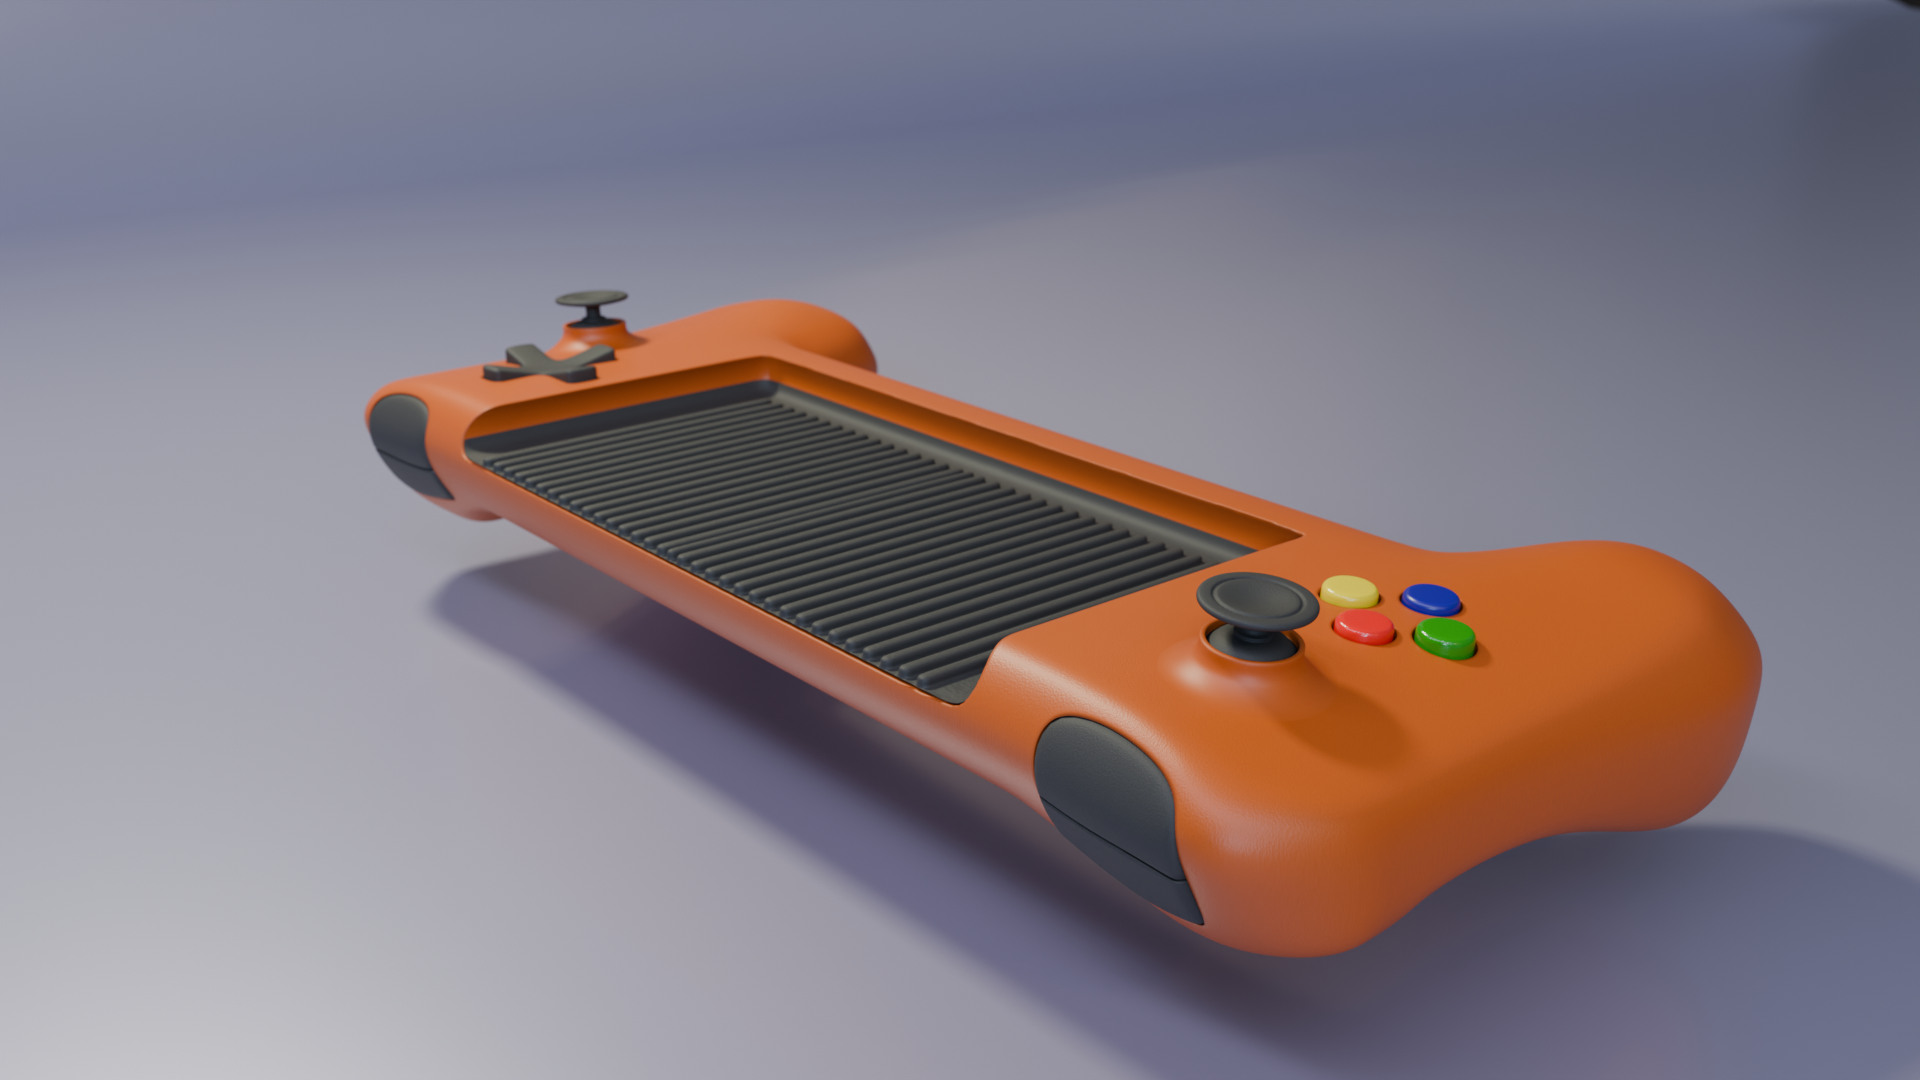
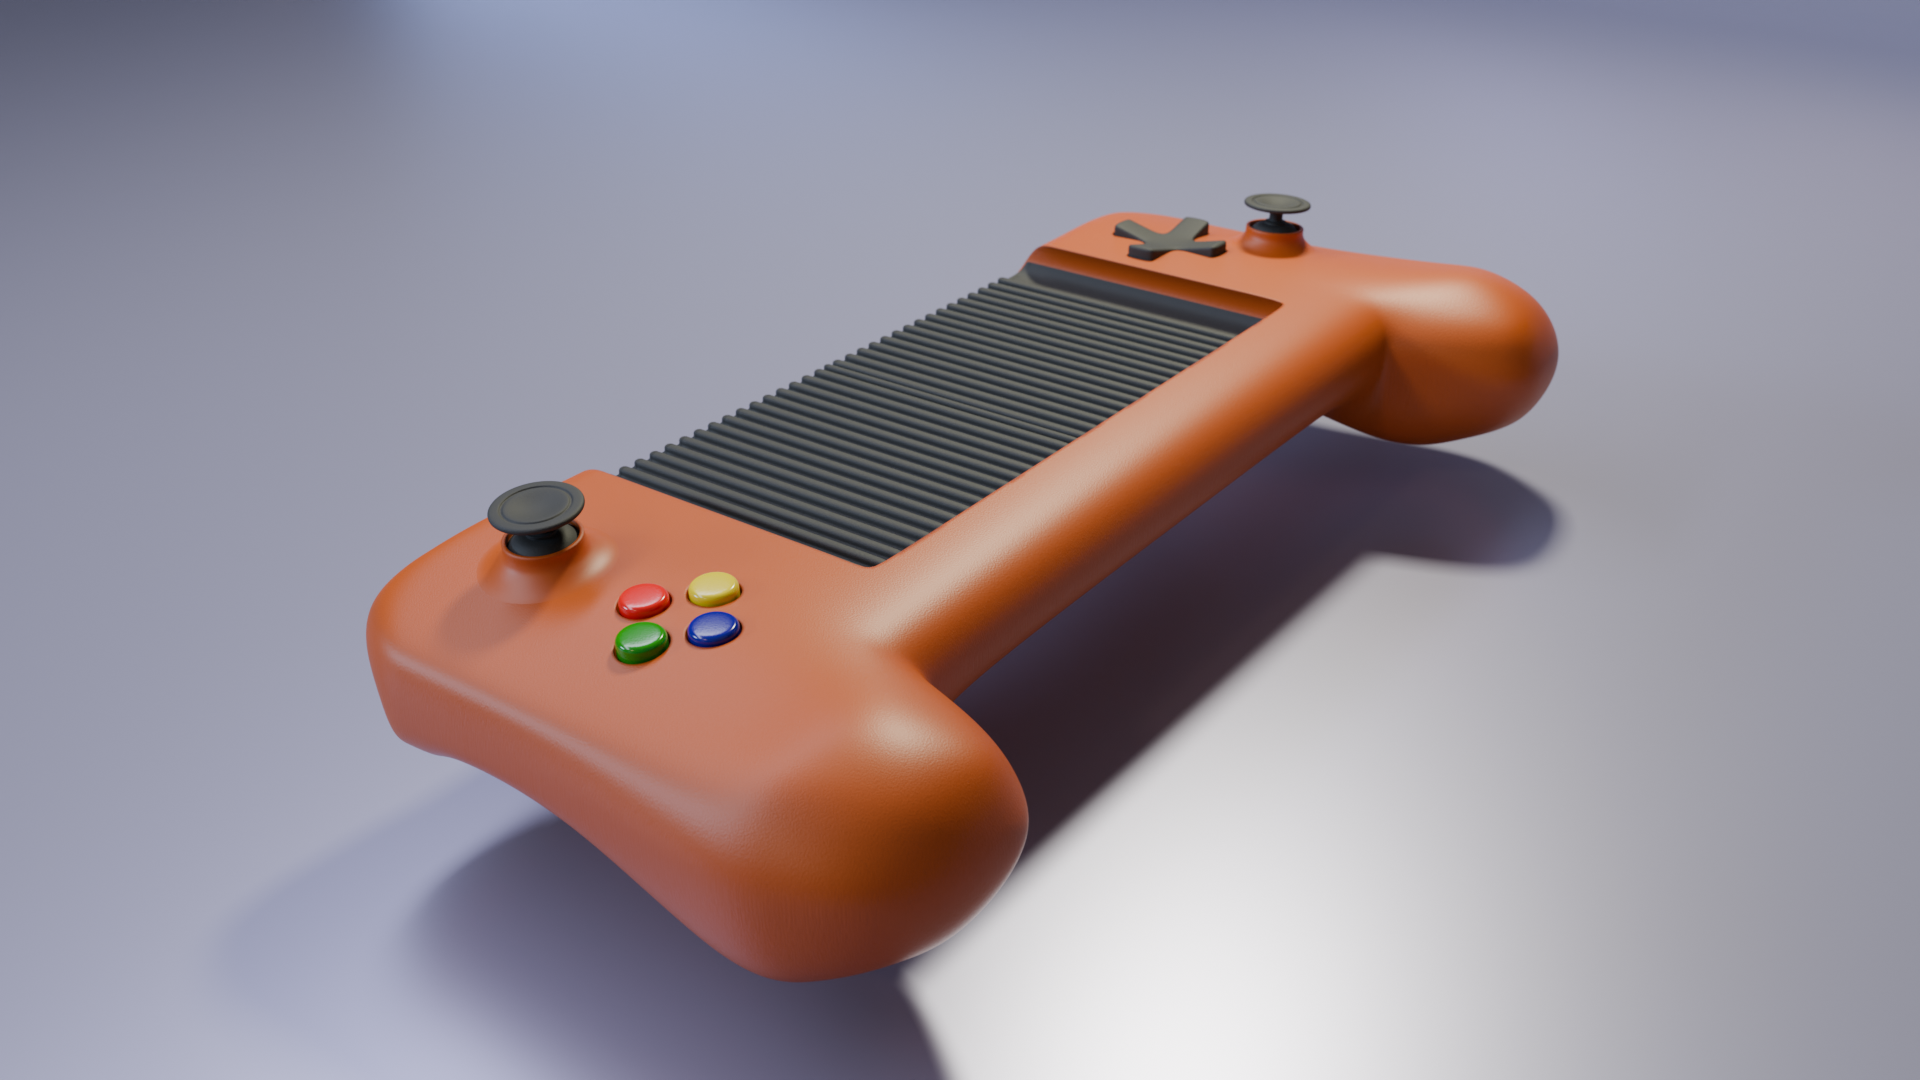
Applied
Without killing myself on details and just basic materials here is the use of the technique applied to the final tutorial in the LeManoosh Blender essentials course. It was good to get a bit of practice in.


Leave a comment